Installing the plugin
This is the usual unzip in your Eclipse directory. If everything went well you should have a mojAssignmentPlugin_1.0.0 in your plugins directory. Now (re)start your eclipse and proceed to: Window->Preferences->Java->Installed JREs. Edit the active JRE and add the lib/tools.jar of your JDK to its classpath. This makes sure that the java compiler can be executed.

Starting a new MoJ Assignment Project
This can be done easily using the New MoJ Assignment Project wizard. Select File->New->Project.. and the following dialog will appear:
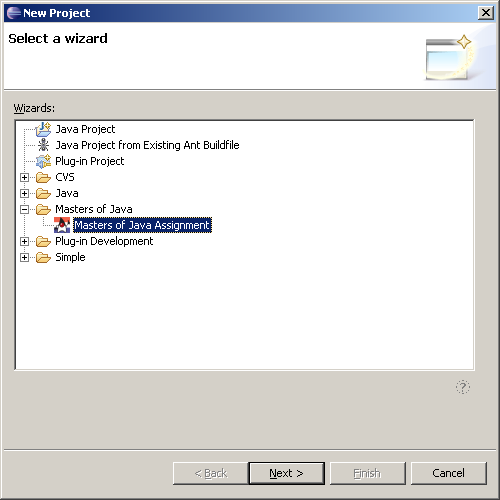
Select the 'Masters of Java Assignment', press next and the following page will appear:
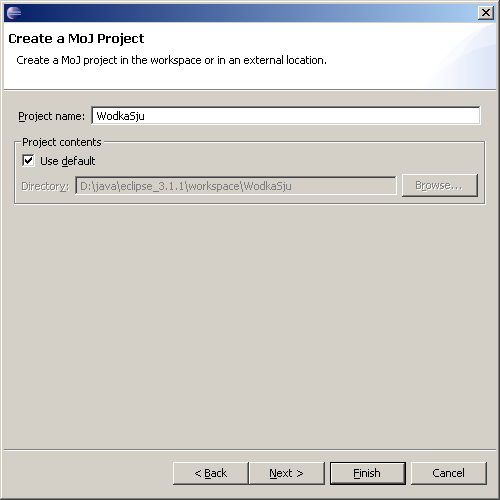
Specify the name and location where you want to put your MoJ Assignment and press Next.
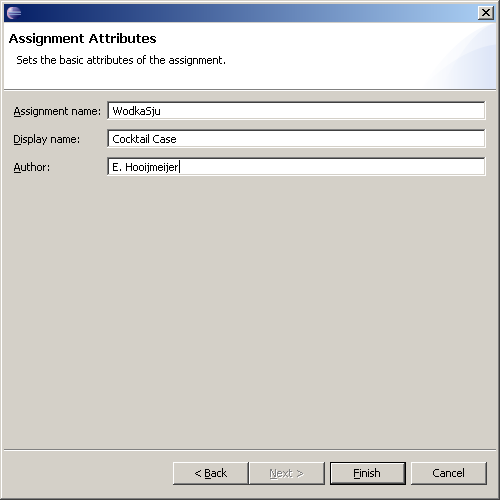
Finally specify the Name, Display Name and Author of the assignment and
press Finish.
The wizard will setup the directory structure, classpath and some template
files for your assignment. Two source folders will appear. The first contains
the source files that will be visible to the player (including the file that
needs to be edited). The other folder (ending with Test) contains the code
for the test-cases.
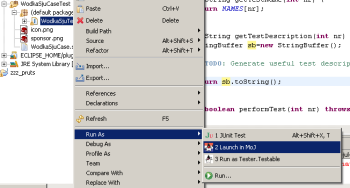
Developing your MoJ Assignment
The MoJ Assignment plugin has support for two new launch types. One is the Run as Tester.Testable which executes the xxxTester class and displays the description and performs each of the tests of the assignment. The other is Launch in MoJ and starts the MoJ Server and Client simultaniously and starts the game. You can login using a default username and password which will be filled in for you.
Also available are some consistency checks for the manifest file of the assignment. If an entry has an incorrect value or needs to be present an error or warning will appear in the Problems tab of the IDE.
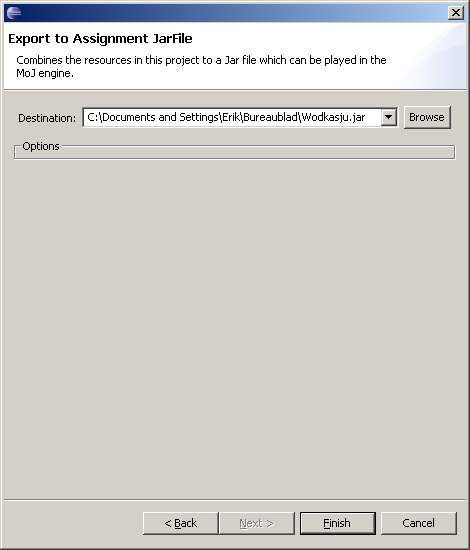
Packaging your Assignment for MoJ
When you are satisfied with your assignment you can export it to a MoJ Archive to use it in the standalone engine. Simply select your project and select the export option from the popup menu. The following wizard will appear :
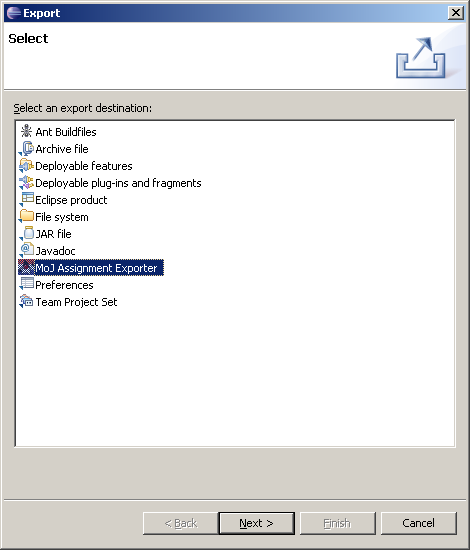
Select the MoJ Assignment Exporter and click next. Now specify the output location and press Finish. That's it !